
Turns out BEAR didn't send just regular squads into Tarkov, there were real SOF guys here. I'd like to know more about those units and what exactly they were doing.
Chapter Objectives
- Locate the traces of the BEAR special squad
- Locate and obtain the Bogatyr squad patch (optional)
- Learn more about the Bogatyr squad from the traders
- Locate the Ryabina outpost
- Find more information about the Bogatyr squad
- Locate and obtain a keepsake of one of the Bogatyrs (optional)
- Locate the Carousel outpost
- Find the Bogatyr squad's personal notes
- Learn more about Strelets
- Learn more about Taran
- Locate and obtain a personal item of one of the Bogatyrs (optional)
- Learn more about Voevoda
- Find Voevoda's personal belongings
- Locate and obtain the squad commander's recorder (optional)
- Locate the Gnezdo outpost
- Search the Gnezdo outpost
- Figure out what happened to the Bogatyr squad
- Figure out where the Bogatyr squad got ambushed
- Learn more about the Bogatyr squad's activities
- Learn more about the Bogatyr squad's members
- Locate the ambush spot
- Obtain more information about the Bogatyr squad
- Inspect Moreman's body
- Locate and obtain Moreman's phone (optional)
- Locate and obtain a dogtag of one of the Bogatyrs (optional)
- Retrieve more information about the ambush from Moreman's phone
- Obtain Intelligence Center level 3
- Contact the Bogatyr squad
- Gain access to Lightkeeper
- Stay on good terms with Lightkeeper
- Bring all the Bogatyr squad's items to Lightkeeper
- Wait for Voevoda to reach out
- Reach the Light Machine Guns skill level 5
- Reach the Assault Rifles skill level 10
- Reach the Stress Resistance skill level 10
- Reach the Strength skill level 15
- Eliminate any 15 targets without dying
- Eliminate 4 PMC operatives without dying
- Contact Voevoda
- Locate the traces of the traitors
- Investigate the command bunker on Reserve (optional)
- Investigate the BEAR camp on Lighthouse (optional)
- Investigate the BEAR camp east of the Ultra mall on Interchange (optional)
- Interrogate Prapor
- Figure out how the cultists are connected to the General
- Talk to Lightkeeper
- Wait for Lightkeeper to prepare the documents on The Unheard
Step by Step
Jump to a step 22 steps
- 1Locate the traces of the BEAR special squad
- 2Learn more about the Bogatyr squad from the traders
- 3Locate the Ryabina outpost
- 4Find more information about the Bogatyr squad
- 5Locate the Carousel outpost
- 6Locate the Gnezdo outpost
- 7Search the Gnezdo outpost
- 8Locate the ambush spot
- 9Obtain more information about the Bogatyr squad
- 10Retrieve more information about the ambush from Moreman's phone
- 11Obtain Intelligence Center level 3
- 12Contact the Bogatyr squad
- 13Gain access to Lightkeeper
- 14Bring all the Bogatyr squad's items to Lightkeeper
- 15Wait for Voevoda to reach out
- 16Complete Voevoda's tasks
- 17Contact Voevoda
- 18Locate the traces of the traitors
- 19Interrogate Prapor
- 20Figure out how the cultists are connected to the General
- 21Talk to Lightkeeper
- 22Wait for Lightkeeper to prepare the documents on The Unheard
1Locate the traces of the BEAR special squad
Pick up the Bogatyrs patch and read it. It can turn up on Customs, Woods, Reserve or Lighthouse. On Customs it lies on a couch inside the cabin at the top of the hill south-west of the new gas station. On Woods it is on the ground beside the BRDM belonging to the cargo convoy. On Reserve it sits on a package on the upper roof of the airspace control center, the one marked with a white king. On Lighthouse it rests on a tree stump in the BEAR camp.
- Bogatyrs patch found in raid

Cabin location marked on map 
The wanted cabin 
The patch on the couch 
Convoy location marked on map 
The BRDM 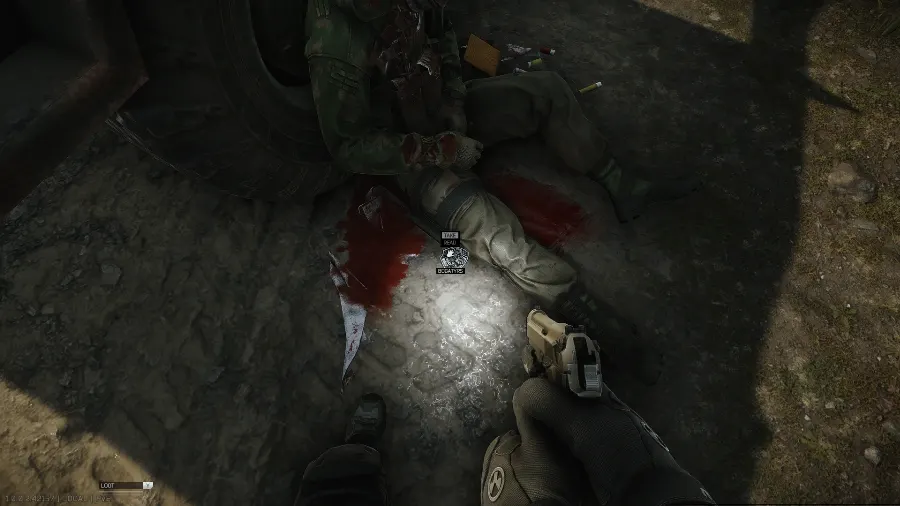
The patch next to the BRDM 
White king airspace control center marked on map 
The patch on the package 
BEAR camp location marked on map 
The camp 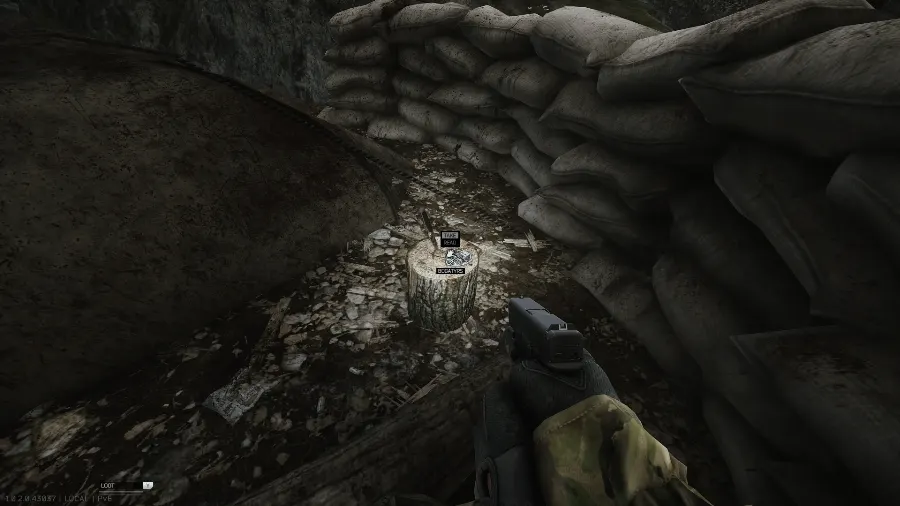
The patch on the tree stump 2Learn more about the Bogatyr squad from the traders
Open the trader screen from the menu, go to Jaeger and ask him about the BEAR patch.
3Locate the Ryabina outpost
The Ryabina outpost sits north of the sawmill on Woods.

Location marked on map 
The outpost 4Find more information about the Bogatyr squad
Take and read one note at the camp, and collect a quest item there as well. Move Strelets' amulet into your off-raid quest inventory so a later raid cannot cost you it, because it is needed further down the line.
- Strelets' amulet found in raid
- Hostage evacuation report from Voevoda found in raid

Hostage evacuation report from Voevoda on a pallet next to a bottle in the camp 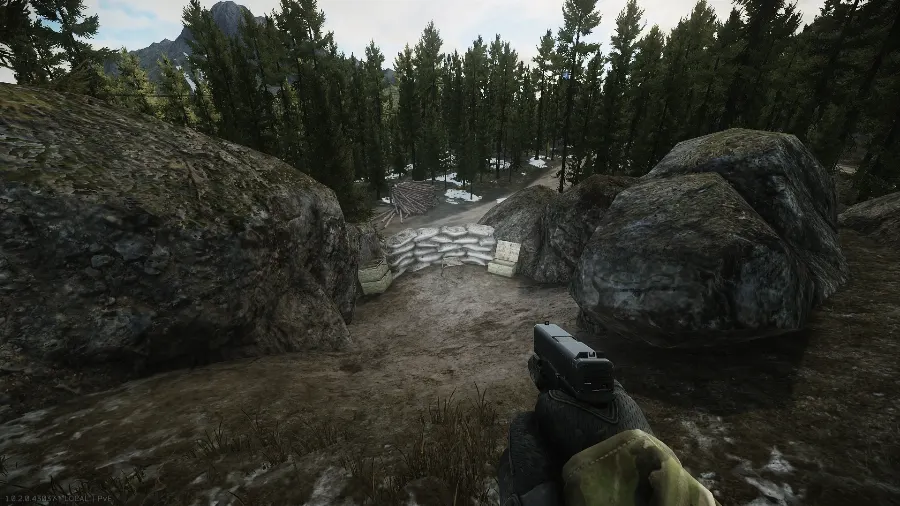
Sniper nest next to the camp 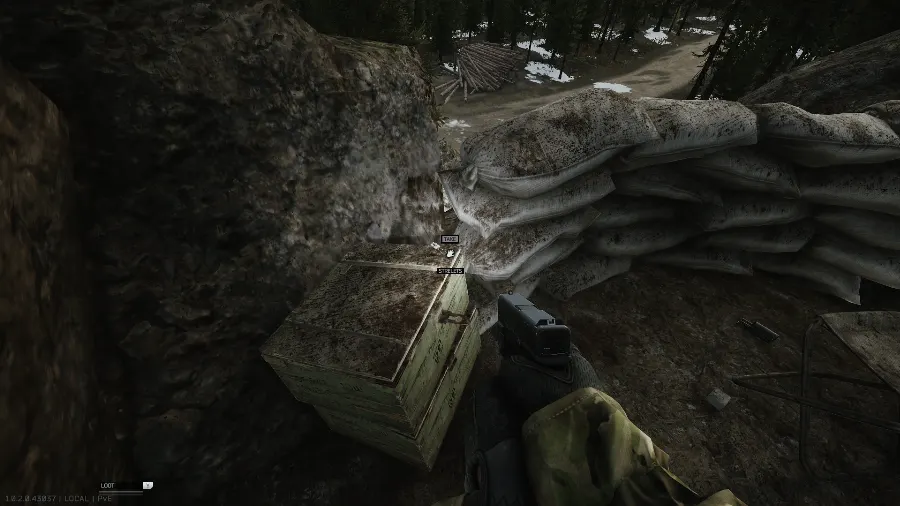
Strelets' amulet on a green crate at the sniper nest 5Locate the Carousel outpost
The Carousel outpost is inside the ULTRA shopping mall on Interchange, across from the IDEA store checkout area. Collect two quest items there, read four notes, and take an audio tape. Shift Taran's postcard and Voevoda's audio recorder into your off-raid quest inventory so later raids cannot take them from you, as both are needed again.
- Taran's personal file found in raid
- Voevoda's personal file found in raid
- Strelets' personal file found in raid
- Strelets' note found in raid
- Taran's postcard found in raid
- Voevoda's audio recorder (quest item) found in raid
- Voevoda's thoughts audio tape found in raid

Location marked on map The outpost 
Taran's postcard on the floor next to the beds 
Taran's personal file between the beds 
Voevoda's audio recorder (quest item)|Voevoda's audio recorder on the table with the radio system 
Voevoda's thoughts audio tape on the table with the radio system 
Voevoda's personal file on a desk on the second floor 
Strelets' personal file on an armchair on the second floor 
Strelets' note next to bottles near the armchair on the second floor 6Locate the Gnezdo outpost
The Gnezdo outpost lies east of the ULTRA shopping mall on Interchange.

Location marked on map 
The outpost 7Search the Gnezdo outpost
Collect and read five notes at the outpost, and take an audio tape.
- Moreman's personal file found in raid
- Bogatyr squad operations report found in raid
- Map with triangulated signal found in raid
- BEAR note from the outpost behind Ultra found in raid
- First piece of code note found in raid
- Audio tape with report found in raid

Audio tape with report on the table with the radio system in the tent 
Moreman's personal file on one of the beds in the tent 
Map with triangulated signal in the sleeping bag under the rock 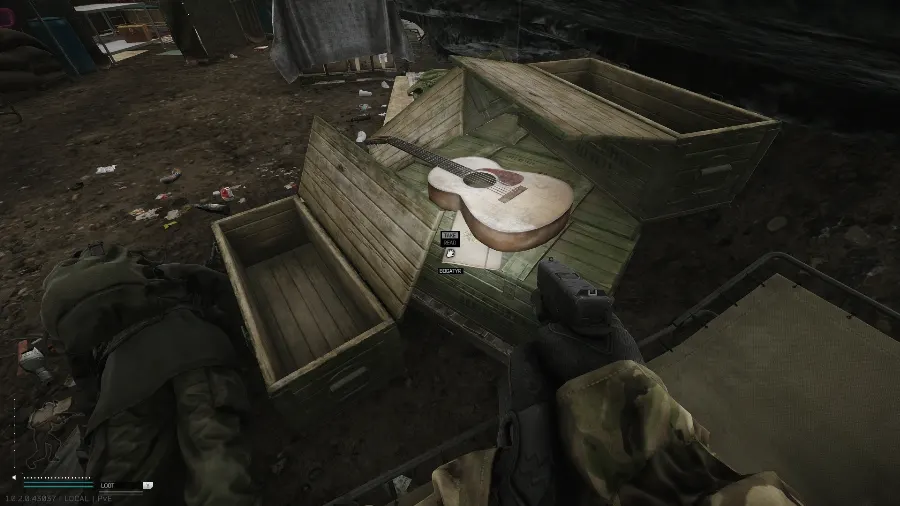
Bogatyr squad operations report next to the guitar under the rock 
First piece of code note on the pallet with the green cloth 
BEAR note from the outpost behind Ultra on the blue chair next to the firebarrel 8Locate the ambush spot
The ambush spot, meaning Moreman's grave, is in the east of Woods near the ZB-016 extraction.

Grave location marked on map 
The grave 9Obtain more information about the Bogatyr squad
Take and read one note at the grave, and collect two quest items while you are there. Move Moreman's dogtag into your off-raid quest inventory so a later raid cannot cost you it, because you will need it again.
- Second piece of code note found in raid
- Moreman's phone found in raid
- Moreman's dogtag found in raid

Second piece of code note in one of the boots 
Moreman's phone on the ground next to the cross 
Moreman's dogtag on the sleeping bag next to the cross 10Retrieve more information about the ambush from Moreman's phone
Craft Moreman's audio tape #1 and Moreman's audio tape #2 at Workbench level 1 in the Hideout, then listen to both. The Hideout needs electricity for the whole craft, otherwise it stops partway.
- Moreman's audio tape 1
- Moreman's audio tape 2
11Obtain Intelligence Center level 3
Take the Intelligence Center in your Hideout up to level 3.
12Contact the Bogatyr squad
Reach Voevoda on the radio system at the Intelligence Center in your Hideout. Enter the frequency "35.70" first, which the First piece of code note and Second piece of code note point to, then the code "27.893.2000", which Strelets' note points to.

The radio system 
Enter frequency "35.70" 
Enter code "27.893.2000" 13Gain access to Lightkeeper
Lightkeeper is on Lighthouse, shut away in a locked area on the 3rd floor of the lighthouse building on the peninsula territory. The bridge across to it is watched by Zryachiy and strewn with Claymores, so you need an encoded Digital secure DSP radio transmitter to cross safely and speak to him: it turns the Claymores off and keeps Zryachiy from firing on you. Getting one means running the questline that opens with Network Provider - Part 1, which Mechanic gives you once the previous objective is done. Wounding Zryachiy, any of his followers, or a PMC acquainted with Lightkeeper anywhere on the lighthouse premises will decode your transmitter if you have it equipped, and in local PvE raids taking it off does not spare you. PMCs who are acquainted with Lightkeeper may kill intruders who are not, without penalty.
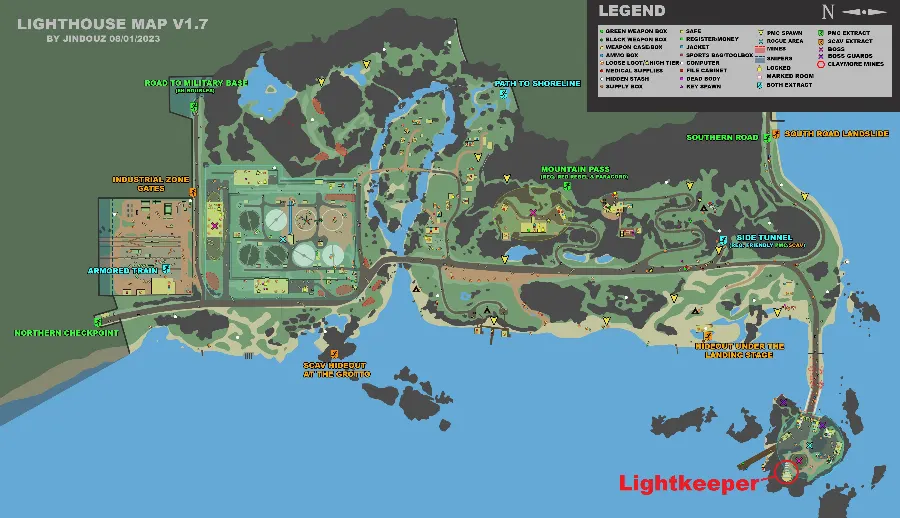
Lighthouse location marked on map 
Locked area door 14Bring all the Bogatyr squad's items to Lightkeeper
Move Taran's postcard, Voevoda's audio recorder, Strelets' amulet, Moreman's dogtag and the Bogatyrs patch into your in-raid quest inventory, then hand them all to Lightkeeper.
- Taran's postcard found in raid
- Voevoda's audio recorder (quest item) found in raid
- Strelets' amulet found in raid
- Moreman's dogtag found in raid
- Bogatyrs patch found in raid
15Wait for Voevoda to reach out
Give Voevoda 6-12 hours to make contact, then call him on the radio system at the Intelligence Center in your Hideout. Enter the frequency "35.70" and the code "27.893.2000" once more.
The radio system Enter frequency "35.70" Enter code "27.893.2000" 16Complete Voevoda's tasks
Voevoda asks for six things: Light Machine Guns skill at level 5, Assault Rifles at level 10, Stress Resistance at level 10, Strength at level 15, 15 targets of any kind killed without dying, and 4 PMC operatives killed without dying.
17Contact Voevoda
Call Voevoda again on the radio system at the Intelligence Center in your Hideout, entering the frequency "35.70" and the code "27.893.2000".
The radio system Enter frequency "35.70" Enter code "27.893.2000" 18Locate the traces of the traitors
The Note mentioning Prapor is at the BEAR camp on Lighthouse. Pick it up and read it to clear this objective.
- Note mentioning Prapor found in raid
BEAR camp location marked on map The camp 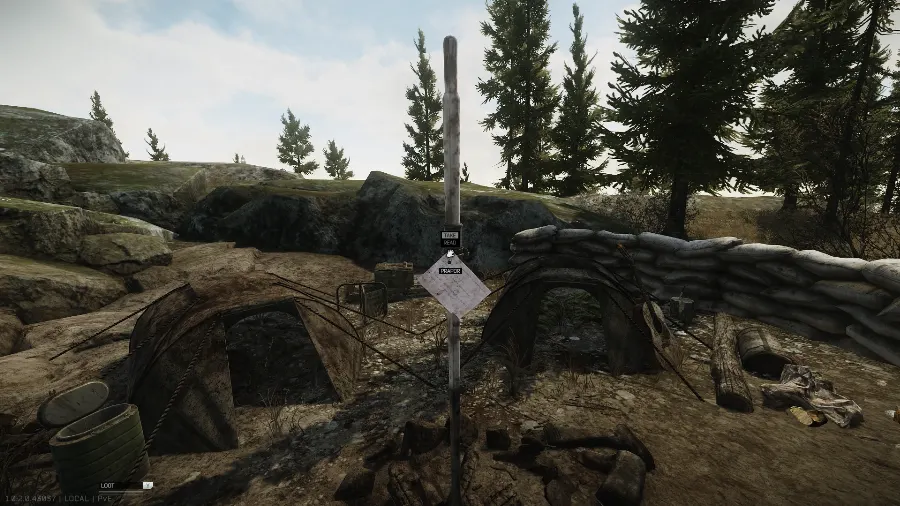
The note on a metal pole 19Interrogate Prapor
Open the trader screen from the menu and visit Prapor.
20Figure out how the cultists are connected to the General
Two notes are needed here: one from Shoreline, and one from either Woods or Customs. Voevoda's photo with a cultist mark is in the house on the island on Shoreline. The Note mentioning General is either at the marked circle in the woods west of the sawmill near the checkpoint, or in the marked room on the third floor of the three-story dorms building, which needs a Dorm room 314 marked key to open. Not every spawn of the quest item calls for that key, so it is not strictly needed to finish the objective.
- Voevoda's photo with a cultist mark found in raid
- Note mentioning General found in raid
- Dorm room 314 marked key

Island location marked on map 
The note on the floor 
Location marked on map 
The marked circle 
The note next to the candles 
Room location marked on map 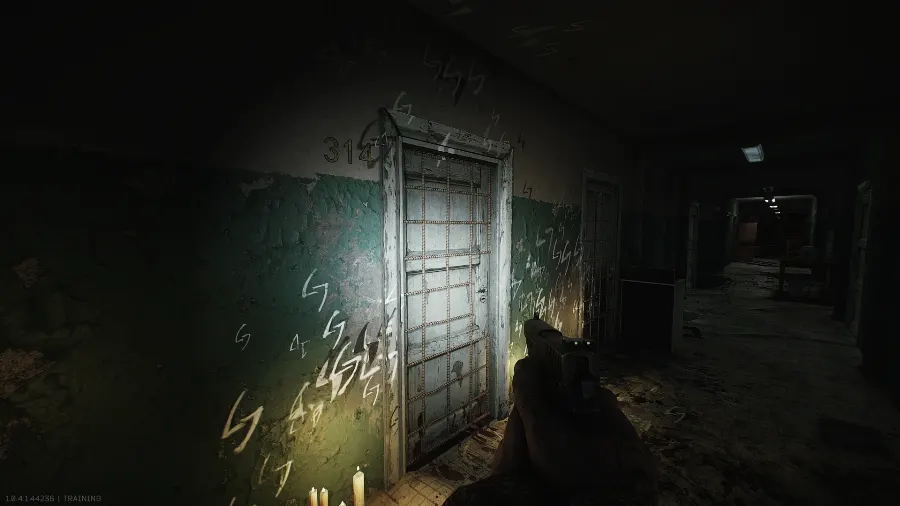
Door to the room 
The note on the wall 21Talk to Lightkeeper
Go to Lighthouse and see Lightkeeper.
22Wait for Lightkeeper to prepare the documents on The Unheard
Head back into a new raid, return to Lightkeeper's area on Lighthouse, and pick up and read the Agent network deployment report. The objective then clears 6 hours later. You get 144,000 EXP, Voevoda's audio recorder, and the This Is All (Not) Coincidence achievement.
- Agent network deployment report found in raid
Walkthrough facts and screenshots from the Escape from Tarkov Wiki (CC BY-SA), rewritten for this page.
2 Learn more about the Bogatyr squad from the traders
3 Locate the Ryabina outpost
4 Find more information about the Bogatyr squad
5 Locate the Carousel outpost
6 Locate the Gnezdo outpost
7 Search the Gnezdo outpost
8 Locate the ambush spot
9 Obtain more information about the Bogatyr squad
10 Retrieve more information about the ambush from Moreman's phone
11 Obtain Intelligence Center level 3
12 Contact the Bogatyr squad
13 Gain access to Lightkeeper
14 Bring all the Bogatyr squad's items to Lightkeeper
15 Wait for Voevoda to reach out
16 Complete Voevoda's tasks
17 Contact Voevoda
18 Locate the traces of the traitors
19 Interrogate Prapor
20 Figure out how the cultists are connected to the General
21 Talk to Lightkeeper
22 Wait for Lightkeeper to prepare the documents on The Unheard
- Voevoda's audio recorder
- Unlocks achievement This Is All (Not) Coincidence
Requirements & Notes
Story chapter in Escape from Tarkov.
Visit one of the following locations: * Mattress below the "жопа" writing on the second floor of the Scav base on Customs File:EasyMoneyPart1CustomsMap1.png|Scav base location marked on map File:ZB-013 Building.png|The Scav base File:Batya Customs Activation Location.png|The wanted mattress * Radome on top of the white queen radar station building on Reserve File:RadarStationGuide.jpg|Radar station marked on map File:Reserve Showcase 4.png|The radar station * Bunker north of the health resort on Shoreline File:SpaTour5BunkerMap.jpg|Bunker location marked on map File:The bunker by rock passage.png|The wanted bunker * Mattresses on top of the big rock at the USEC camp on Woods File:Batya Woods Activation Map.png|Rock location marked on map File:Batya Woods Activation Location.png|The wanted mattresses
Required for Kappa container - NO


